
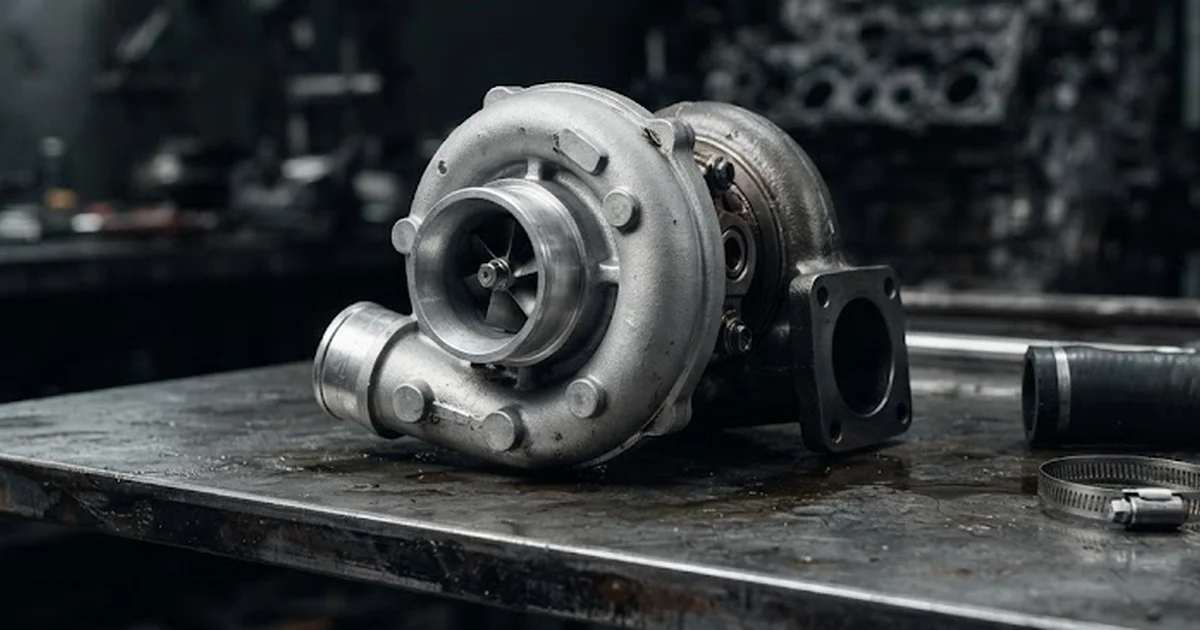
Turbo repair: what mounting or reassembling the part entails
Turbo mounting or reassembly: steps, mistakes to avoid, break-in period, and costs. Understand the stakes of a reliable and durable turbo repair.
Repairing a turbocharger is not just about replacing a faulty part: mounting or reassembling the turbo is a technical step in its own right, which directly determines the reliability and lifespan of the engine. From preparing the oil circuit and respecting torque specifications to post-installation checks, every detail matters. This article explains what this operation actually involves, for both private individuals and professionals looking to understand the stakes of a well-executed turbo repair.
Why mounting a repaired turbo requires rigorous preparation
A turbocharger operates at extremely high rotational speeds and temperatures. Reassembling it on the engine is therefore never a trivial operation: it requires meticulous preparation beforehand, otherwise the repaired part may fail within the first few miles.
Even before installing the repaired turbo on the manifold, several checks are essential. The oil circuit, in particular, must be flawless, as it ensures the lubrication and cooling of the turbo’s core.
- Inspection and cleaning of the oil supply hose to remove any residue or carbon deposits
- Verification of the oil return hose, often clogged in the event of a prior failure
- Inspection of the oil filter and systematic replacement of the engine oil
- Check of the seals, hoses, and clamps of the intake and exhaust circuits
- Verification of the condition of the exhaust manifold and turbo gasket
This upfront preparation explains why a properly executed turbo reassembly takes longer than a simple part swap. However, it directly determines the longevity of the repair.
Key steps in reassembling a turbocharger
The reassembly process follows a precise sequence, with each step impacting the future proper functioning of the turbo. A rushed or disorderly installation can lead to premature failure, sometimes as soon as the engine is first started.
- Complete removal of the old turbo and cleaning of the engine housing
- Pre-lubrication of the turbo with new oil before installation to prevent dry operation at startup
- Positioning and securing the turbo on the manifold, respecting the recommended torque specifications
- Reconnection of the oil hoses, boost circuit, and cooling hoses if applicable
- Leak test of the entire system before restarting the engine
- Gradual engine start-up, without sudden acceleration, to allow oil to circulate properly
Pre-lubrication before installation is often the most overlooked step by rushed workshops. Yet it is the one that prevents the common cold-start failure, a frequent cause of return visits to the workshop for a turbo that was otherwise correctly repaired.
New turbo, standard exchange, or repaired: differences in mounting
The type of turbo chosen to replace the faulty part directly influences the nature of the installation required. A new turbo, a reconditioned standard exchange, and a custom-repaired turbo do not require exactly the same precautions during installation.
| Type of turbo | Necessary preparation | Key points to watch during installation |
|---|---|---|
| New turbo | Mandatory cleaning of the oil circuit | Pre-lubrication, verification of mounting tolerances |
| Standard exchange turbo | Enhanced inspection of the oil and intake circuits | Verification of exact compatibility with the engine |
| Custom-repaired turbo | Prior diagnosis of the original failure causes | Break-in monitoring and oil pressure checks after reassembly |
In all three cases, the quality of the reassembly is just as important as the quality of the part itself. An excellent turbo poorly installed will eventually fail, whereas a correctly repaired turbo but properly installed can offer a lifespan close to that of an original part.
Mounting errors that compromise the turbo’s longevity
Certain mistakes frequently recur in cases of premature failure after reassembly. Knowing them helps avoid unnecessary costs and another intervention in the short term.
- Skipping pre-lubrication before the engine’s first start-up
- Reusing used or unsuitable engine oil
- Neglecting to replace the oil filter during reassembly
- Tightening clamps and hoses without respecting the recommended torque, causing leaks or overpressure
- Ignoring a defect in the air intake circuit, a frequent cause of recurring turbo failure
- Running the engine at full load immediately after reassembly
- Failing to check oil pressure after a few hundred miles
These errors account for a large portion of workshop returns for a turbo that was recently replaced or repaired. They are not always immediately visible, which can make their diagnosis tricky for an uninformed user.
Break-in period and post-reassembly checks: what must never be overlooked
Once the turbo is reassembled, the break-in period is essential. It allows the various mechanical components to gradually adapt to each other, particularly at the turbo shaft and its bearings.
- Avoid sudden acceleration during the first 200 to 300 kilometers
- Let the engine warm up before any significant load
- Check for abnormal smoke from the exhaust in the days following reassembly
- Regularly check the oil level during the first week
- Have a professional perform a pressure and leak test after the break-in period
At autoKUR, we find that the majority of workshop returns after a turbo reassembly are not due to a part defect, but to rushed installation: poorly bled oil circuit, forgotten pre-lubrication, or unobserved break-in. Our advice is simple: a slightly longer but methodical reassembly is better than a quick restart that risks another failure in the following weeks.
Cost and time for turbo reassembly: what it actually involves
Mounting or reassembling a turbo directly impacts the overall repair budget, beyond just the cost of the part. It is important to anticipate these factors before starting the operation.
Several elements influence the time and labor costs required:
- The accessibility of the turbo depending on the vehicle model, with some engines requiring partial removal of the engine block
- Whether hoses, gaskets, or clamps need to be replaced in addition to the turbo
- Systematic replacement of the oil and oil filter
- Time spent cleaning the intake and exhaust circuits
- Post-installation verification, sometimes including a bench test or extended road test
A properly executed reassembly therefore requires workshop time, which explains the variations in quotes from one professional to another. A price significantly below the market average often hides incomplete preparation of the oil circuit or the absence of pre-lubrication, which risks early failure and additional costs.
Summary: understanding the stakes of mounting before any turbo repair
Mounting or reassembling a repaired turbo involves much more than a simple mechanical operation: it determines the lifespan of the part, the reliability of the engine, and ultimately the vehicle’s overall budget. Rigorous preparation of the oil circuit, strict adherence to mounting steps, systematic pre-lubrication, and a well-executed break-in period are the fundamentals of a successful turbo repair.
Having this operation performed by a workshop that pays attention to every detail, rather than one prioritizing speed, helps avoid the majority of early failures observed after replacement. To learn more about choosing the part itself, the Turbocharger section of the site presents the different solutions available depending on vehicles and needs.
Read also
A question?
Get in touch directly.

Discussion
Our advice related to Turbocharger
 Turbocharger
Why Is My Turbo Whistling? Warning Signs and Causes
Is your turbo whistling under acceleration? Discover the differences between normal spooling and mechanical failure, from boost leaks to bearing play.
 Turbocharger
How Much HP Does a Turbo Add? Power Gains & Costs
Learn how much horsepower a turbo adds across engine sizes, what drives replacement costs, and how standard exchange delivers full factory performance.
 Turbocharger
Is a Turbo Covered Under Warranty? Coverage & Exclusions
Wondering if a turbo is covered under warranty? Learn what parts guarantees protect, common failure exclusions, and essential claim requirements to know.