
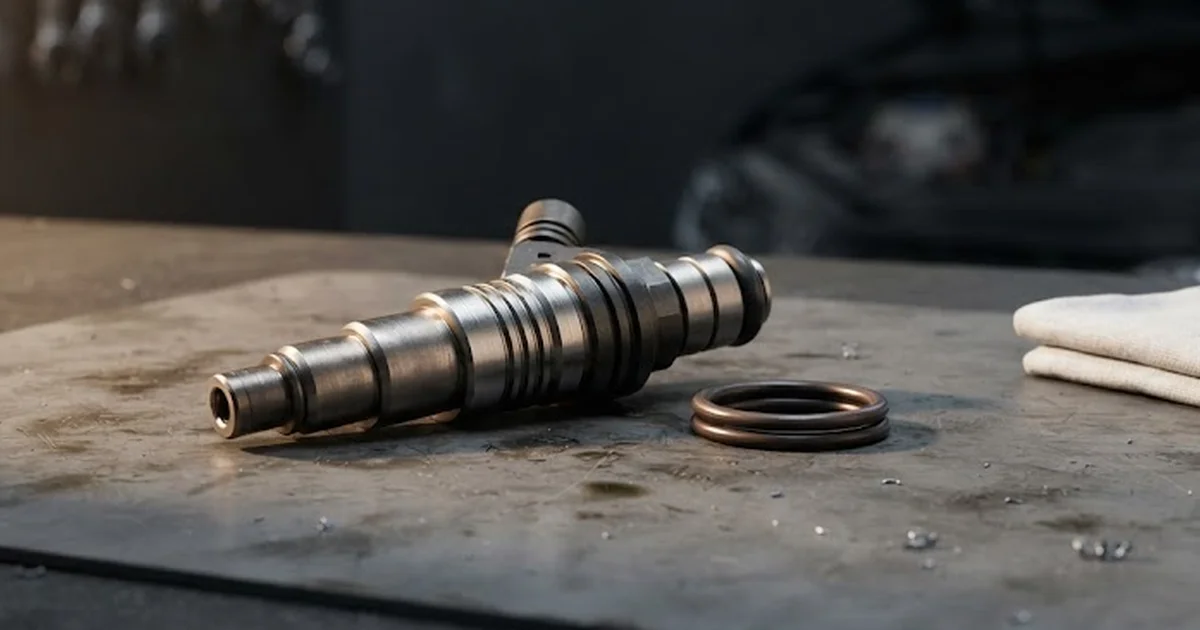
How to remove a fuel injector
Learn how to remove a fuel injector safely, avoid common mistakes, and refit it correctly. A clear, expert step-by-step guide from autoKUR.
Removing a fuel injector sounds like a simple unbolt-and-pull job, but anyone who has actually done it on a real engine knows there is more nuance involved. Corroded retaining clips, swollen O-rings, carbon deposits baking the injector into its bore, and delicate electrical connectors all conspire to turn a ten-minute task into an afternoon of careful, patient work. This guide walks you through exactly how to remove a fuel injector safely, what tools you genuinely need, and what refitting properly involves so you do not end up with a fuel leak, a rough idle, or a warning light the moment you turn the key.
Why You Might Need to Remove a Fuel Injector
Before you even pick up a spanner, it helps to understand why injector removal is being requested in the first place. This shapes how careful you need to be and what you should inspect once the injector is out.
- Diagnosing a misfire or rough running – a suspected blocked, leaking, or electrically faulty injector often needs to come out for bench testing.
- Replacing a failed unit – injectors that no longer spray correctly, weep fuel, or have a damaged connector need swapping.
- Cleaning and reconditioning – ultrasonic cleaning or flow testing requires the injector to be fully removed from the manifold or rail.
- Cylinder head or manifold work – gasket changes, head removal, or intake manifold repairs often mean injectors have to come out regardless of their condition.
- Fuel rail or high-pressure pump replacement – on many engines the injectors must be detached before the rail itself can be lifted clear.
Tools and Safety Preparations Before You Start
Fuel injector removal is not the place to improvise with the wrong tools. The fuel system holds pressure even after the engine is switched off, and petrol vapour is highly flammable, so preparation matters as much as technique.
- Fuel pressure release procedure appropriate to your vehicle (schrader valve bleed-off, relay removal and dry-run, or dedicated depressurising tool)
- Insulated, non-sparking tools where possible, particularly near the fuel rail
- A fire extinguisher rated for fuel fires kept within reach
- Nitrile gloves and eye protection – residual fuel will spray or drip during disconnection
- Injector puller or slide-hammer style extractor suited to your engine's injector seating
- Torque wrench calibrated for low torque values (many injector clamps and rail bolts are surprisingly light on spec)
- Fresh O-rings, seals, and heat shields ready before you begin, not ordered afterwards
- A clean, lint-free tray to store injectors in their original firing order
Working in a well-ventilated space is not optional. Fuel vapour pools low and lingers, and an enclosed garage with poor airflow is a genuine hazard, not just an inconvenience.
From what we see across the injectors that come back to us for testing, the single biggest cause of damage during removal is impatience. People lever against the fuel rail with a screwdriver, crack a plastic clip, or yank a connector sideways instead of releasing the tab first. Our advice at autoKUR is simple: budget twice the time you think you need, and treat every clip, bolt, and seal as if it were the last one available for that engine. Nine times out of ten, the injector itself was fine before removal – it is the extraction that causes the failure.
How to Remove a Fuel Injector: Step-by-Step Process
While every engine has its own quirks, the general sequence for removing a fuel injector follows a consistent logic. Skipping steps – particularly pressure release – is where most home mechanics run into trouble.
- Disconnect the battery to eliminate the risk of accidental ignition or short circuit while working near live fuel wiring.
- Relieve fuel system pressure using the method specified for your vehicle. Never assume the system is depressurised just because the engine has been off for a while.
- Remove any covers, trim, or intake components obstructing access to the fuel rail and injectors.
- Disconnect the electrical connectors from each injector, releasing the locking tab fully before pulling – forcing a connector off is the fastest way to snap the plastic housing.
- Detach the fuel rail from its mounting bolts, taking care to support it as it comes free so the injectors do not drop out unexpectedly.
- Ease the injectors from their bores, rocking gently rather than pulling straight out. If they are seized, a proper puller or slide-hammer adaptor is far safer than prising with a flat blade.
- Inspect the O-rings and seals as each injector comes free. Hardened, cracked, or swollen rubber tells you a lot about how long the injector has been sitting undisturbed.
- Label and store each injector according to its cylinder position, especially if you plan to refit the same units after testing or cleaning.
If an injector will not budge after gentle rocking, stop and reassess rather than forcing it. Carbon build-up around the nozzle tip is common on high-mileage engines, and excessive force risks cracking the injector body or damaging the bore itself.
Injector Types and How Their Removal Differs
Not all injectors sit in an engine the same way, and the removal approach changes noticeably depending on the fuel system design. The table below summarises what you are likely to encounter.
| Injector Type | Typical Location | Removal Difficulty | Common Complication |
|---|---|---|---|
| Port fuel injection (petrol) | Intake manifold, fuel rail mounted | Low to moderate | Seized O-rings, brittle plastic clips |
| Direct injection (GDI, petrol) | Cylinder head, high-pressure rail | Moderate to high | High residual pressure, tight tolerances |
| Common rail diesel | Cylinder head, clamped or bolted | High | Corroded clamp bolts, carbon-locked bore |
| Unit injector diesel | Integrated with rocker assembly | Very high | Requires camshaft or rocker removal first |
Diesel injectors, in particular, often benefit from penetrating fluid applied around the clamp and bore hours before removal is attempted. Rushing a seized diesel injector is one of the most common ways to damage a cylinder head unnecessarily.
Common Mistakes That Damage Injectors or Engines During Removal
A surprising number of injector failures are actually caused by the removal process itself rather than the component wearing out naturally. Avoiding these errors will save you time, money, and a repeat trip to the parts counter.
- Skipping fuel pressure release and being caught by a spray of pressurised fuel
- Using a flat screwdriver as a lever against the fuel rail or injector body
- Pulling electrical connectors without releasing the locking tab first
- Ignoring debris or grit around the injector base, which then falls into the bore
- Mixing up injector positions on multi-cylinder engines, which affects diagnostic readings later
- Reusing hardened O-rings instead of fitting new ones during refit
- Applying excessive torque when reinstalling clamps or rail bolts, cracking the injector housing
Each of these mistakes is entirely avoidable with a slower, more deliberate approach. Fuel injectors are precision components, and they do not respond well to force.
What Refitting a Fuel Injector Really Involves
Removal only tells half the story. Refitting a fuel injector correctly is arguably the more important half, because a poorly seated injector can cause vacuum leaks, fuel leaks, or a rough idle that mimics a failed injector all over again.
- Fit new O-rings and seals every time – never reuse old rubber, even if it looks intact
- Lightly lubricate seals with clean engine oil or the fuel itself, never grease, before inserting the injector
- Ease the injector into its bore with a gentle rocking motion, checking it seats fully and squarely
- Reconnect electrical connectors until the locking tab clicks audibly into place
- Torque the fuel rail bolts and injector clamps to the correct low-torque specification rather than tightening by feel
- Reconnect the battery and cycle the ignition without starting the engine to allow the fuel system to prime
- Check visually and by smell around each injector connection before attempting to start the engine
Once the engine is running, let it idle for a few minutes and inspect the injector area closely for any sign of seepage, weeping, or an unusual fuel smell. A correctly refitted injector should show no trace of leakage at any point along the seal.
Signs a Refitted Injector Has Not Sealed Properly
- A persistent fuel smell around the engine bay after starting
- Visible dampness or staining around the injector base or rail
- Rough idle or a misfire on the specific cylinder that was worked on
- A fuel trim or misfire warning light appearing shortly after the work
Deciding Whether to Refit, Recondition, or Replace
Once an injector is out, you are in a good position to judge whether it deserves to go back in as-is, be sent for cleaning and testing, or be retired altogether. Age, spray pattern, and electrical resistance readings all play a part in that decision.
If the injector shows uneven spray, poor atomisation, or resistance readings well outside the expected range for that unit, refitting it is only delaying the inevitable. On the other hand, an injector that is simply carbon-fouled but otherwise sound often responds well to proper cleaning and can be refitted with confidence.
Bringing It All Together
Removing a fuel injector is a task that rewards patience, the right tools, and a methodical approach far more than it rewards brute force. Relieve the pressure properly, release connectors and clamps gently, keep every injector labelled to its cylinder, and never reuse old seals when the time comes to refit. Done carefully, injector removal and refitting is entirely manageable work that avoids unnecessary leaks, misfires, or repeat failures. If your inspection reveals that an injector genuinely needs replacing rather than cleaning or refitting, our Fuel injector category is the place to find a suitable replacement for your engine.
Further reading
Frequently asked questions
Everything you need to know about this topic.
A question?
Get in touch directly.